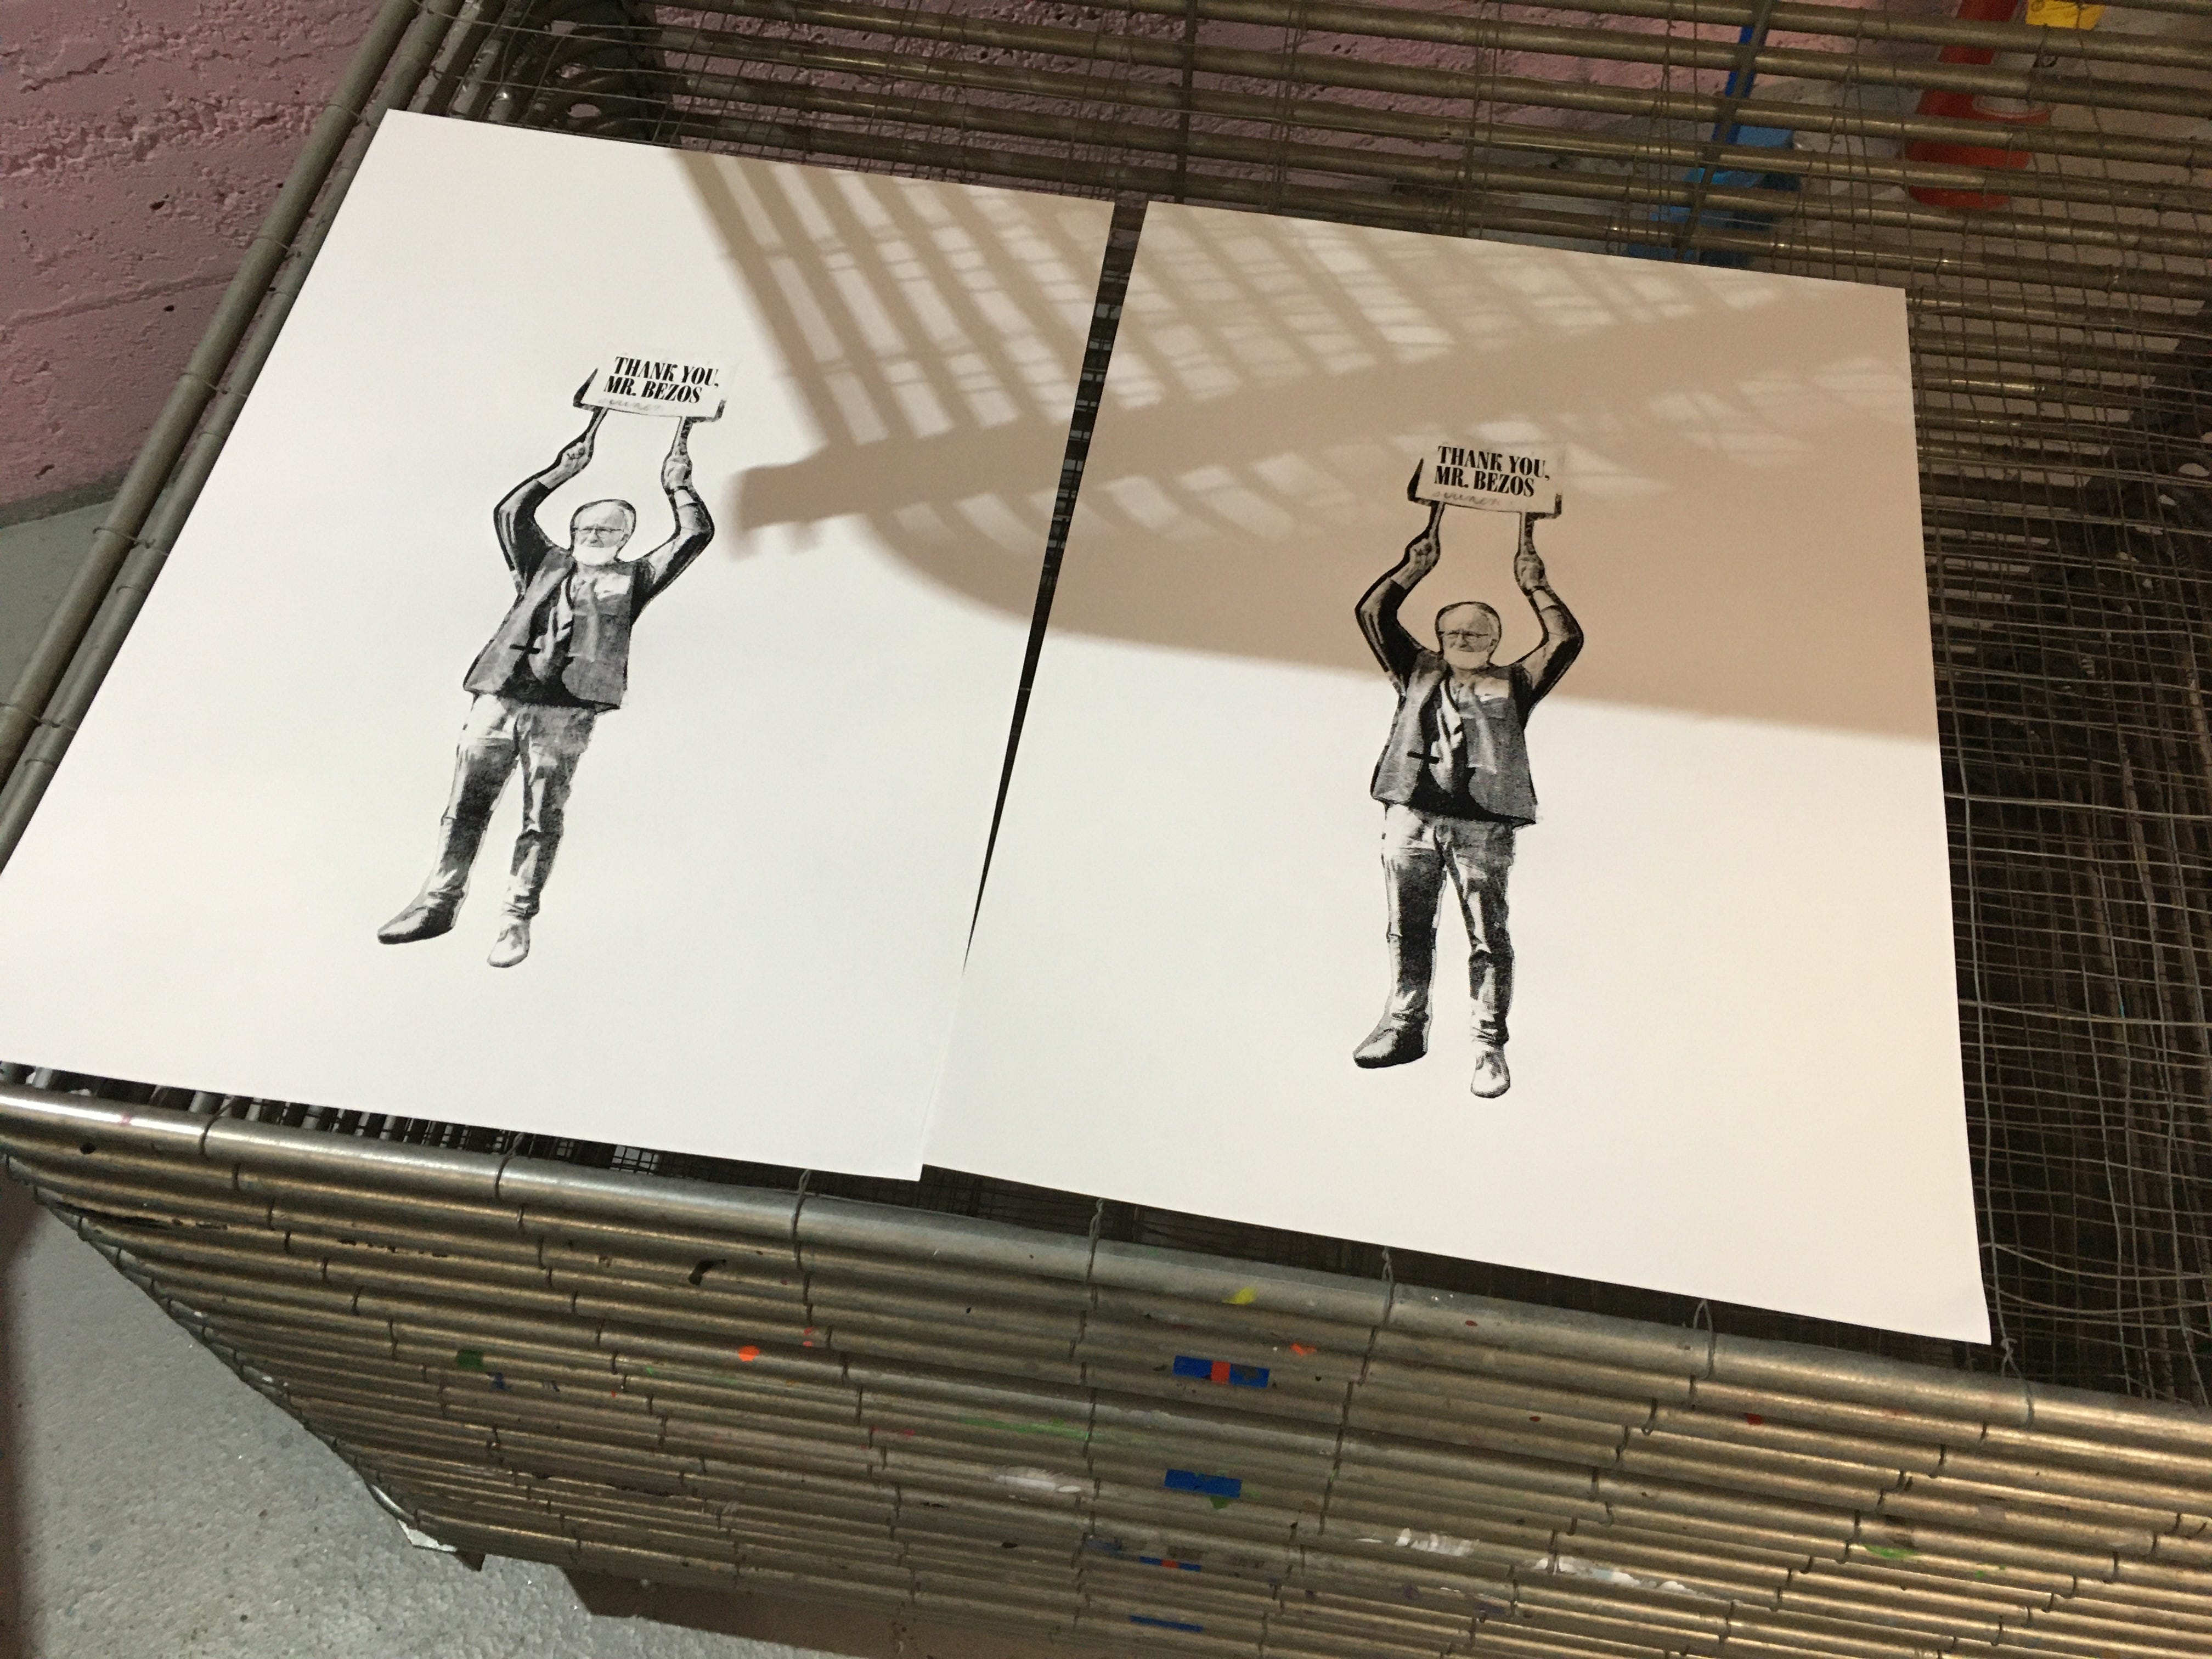
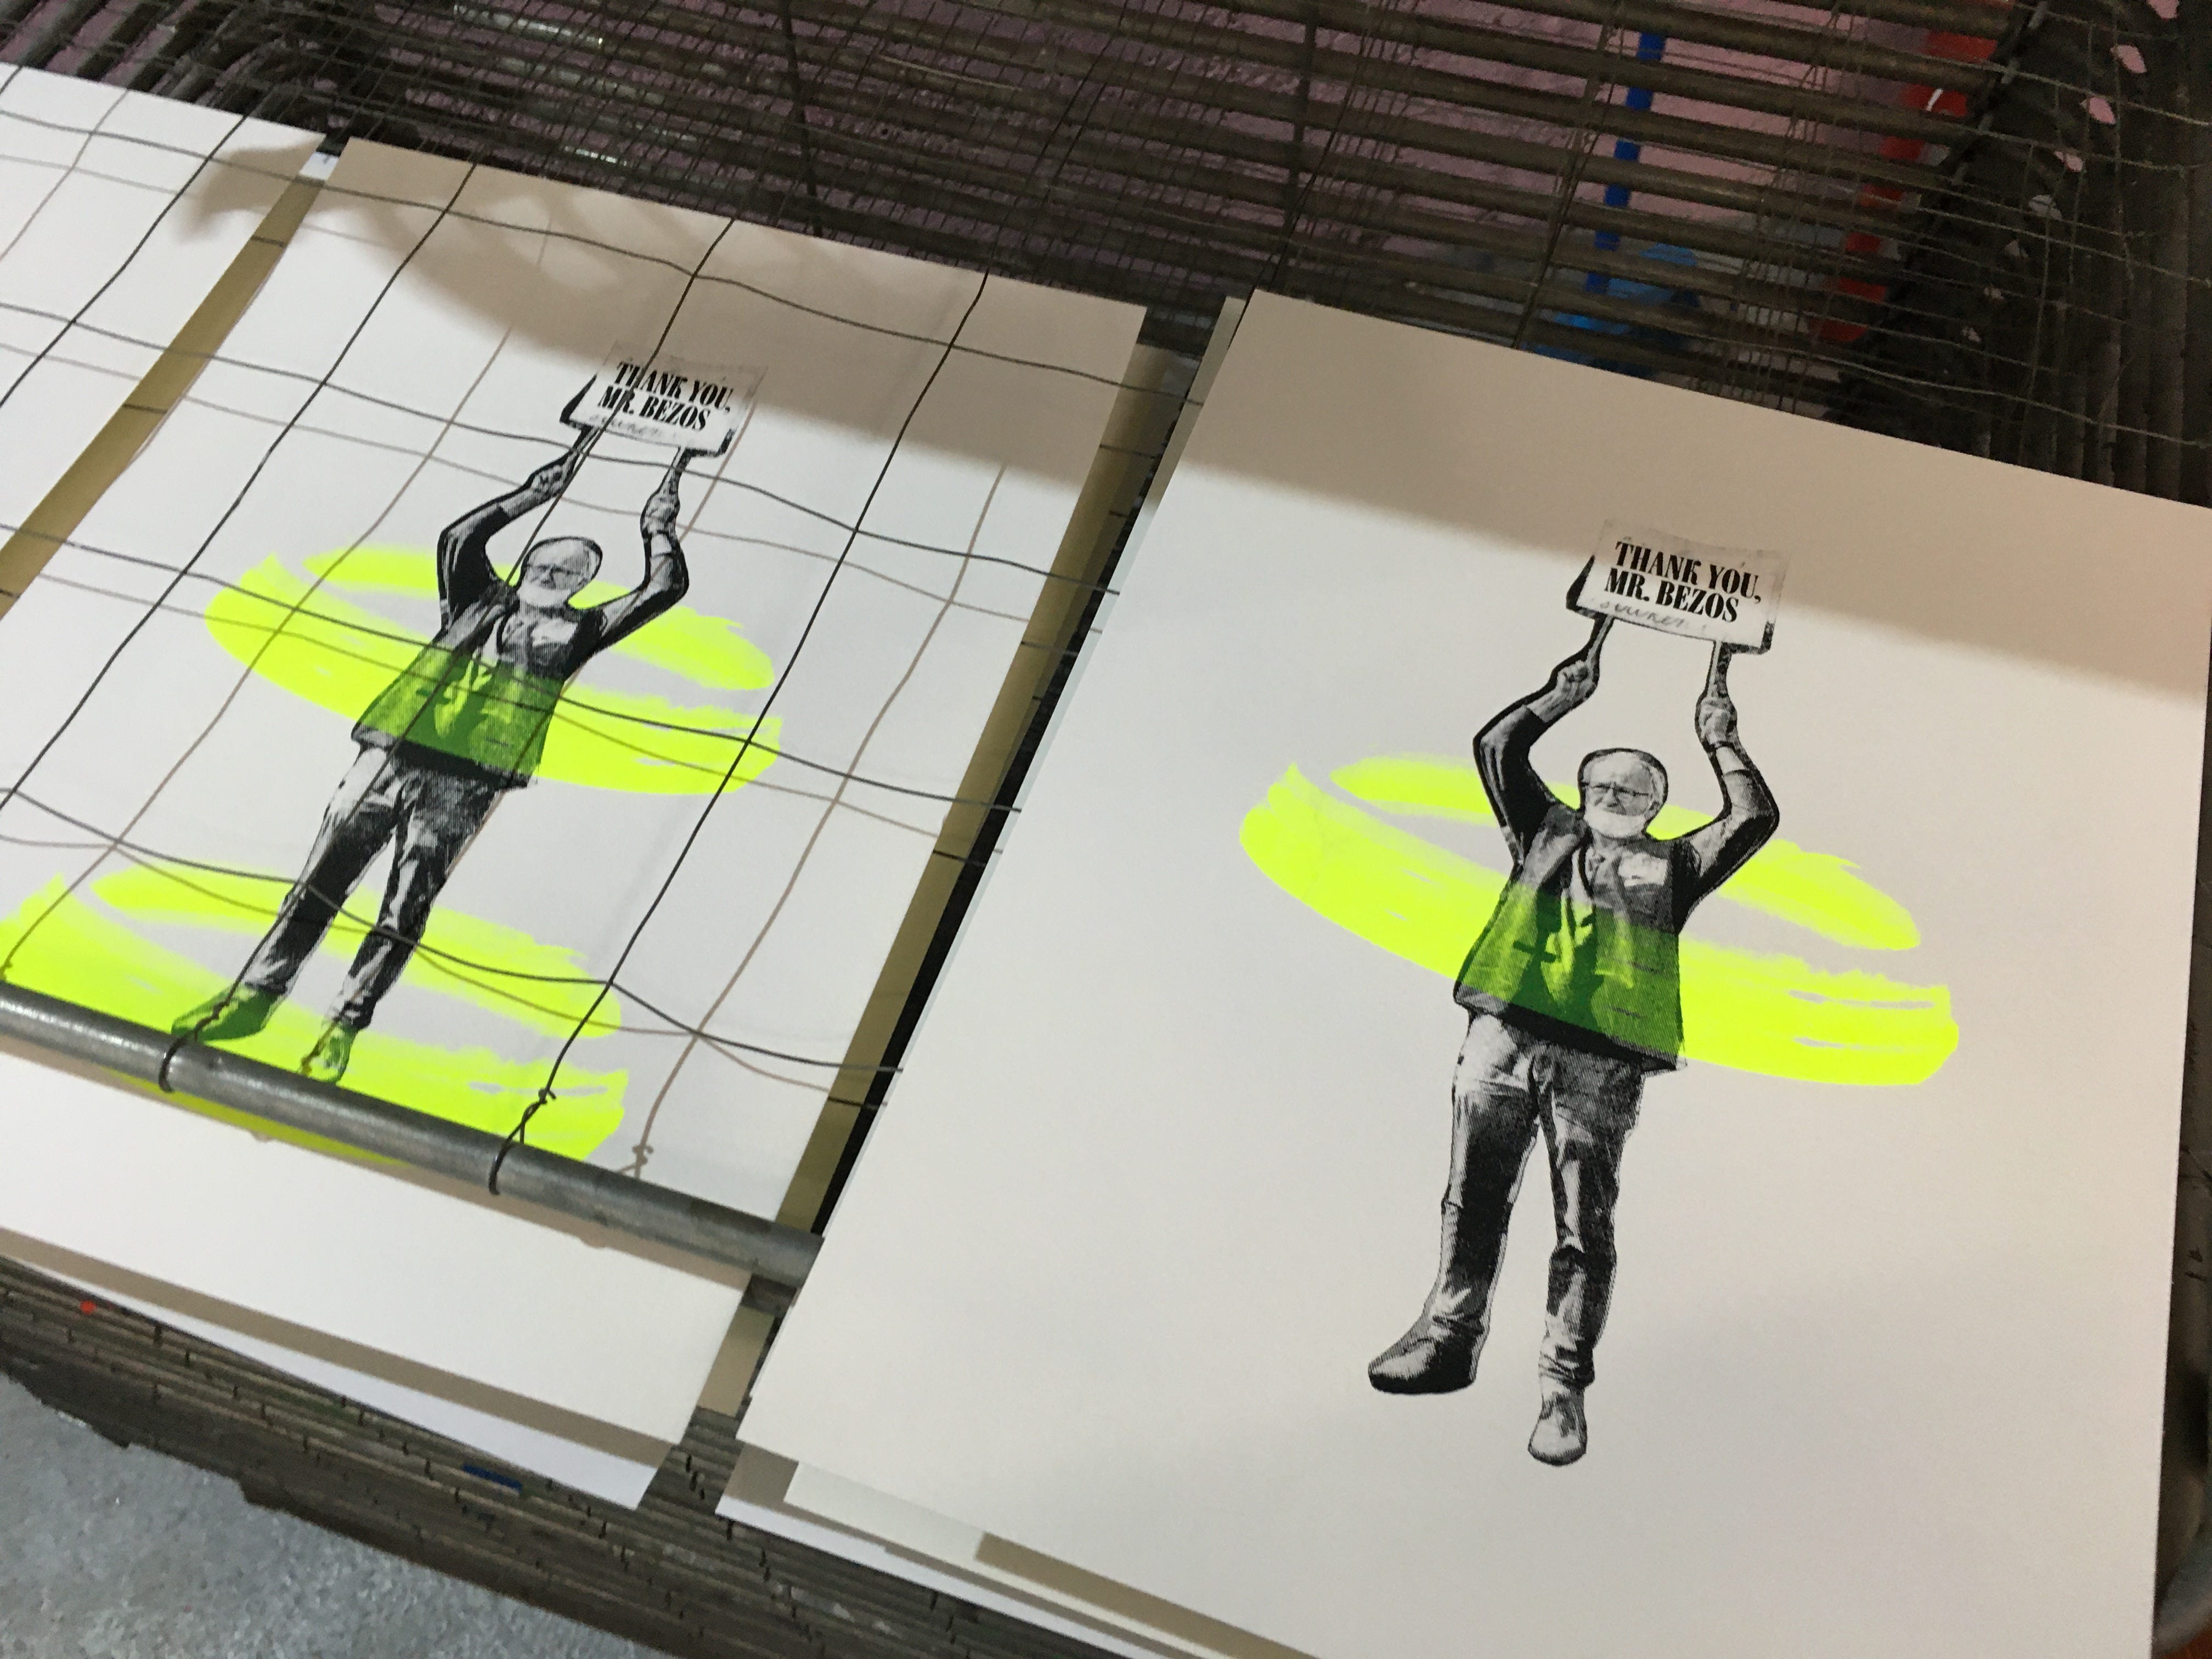
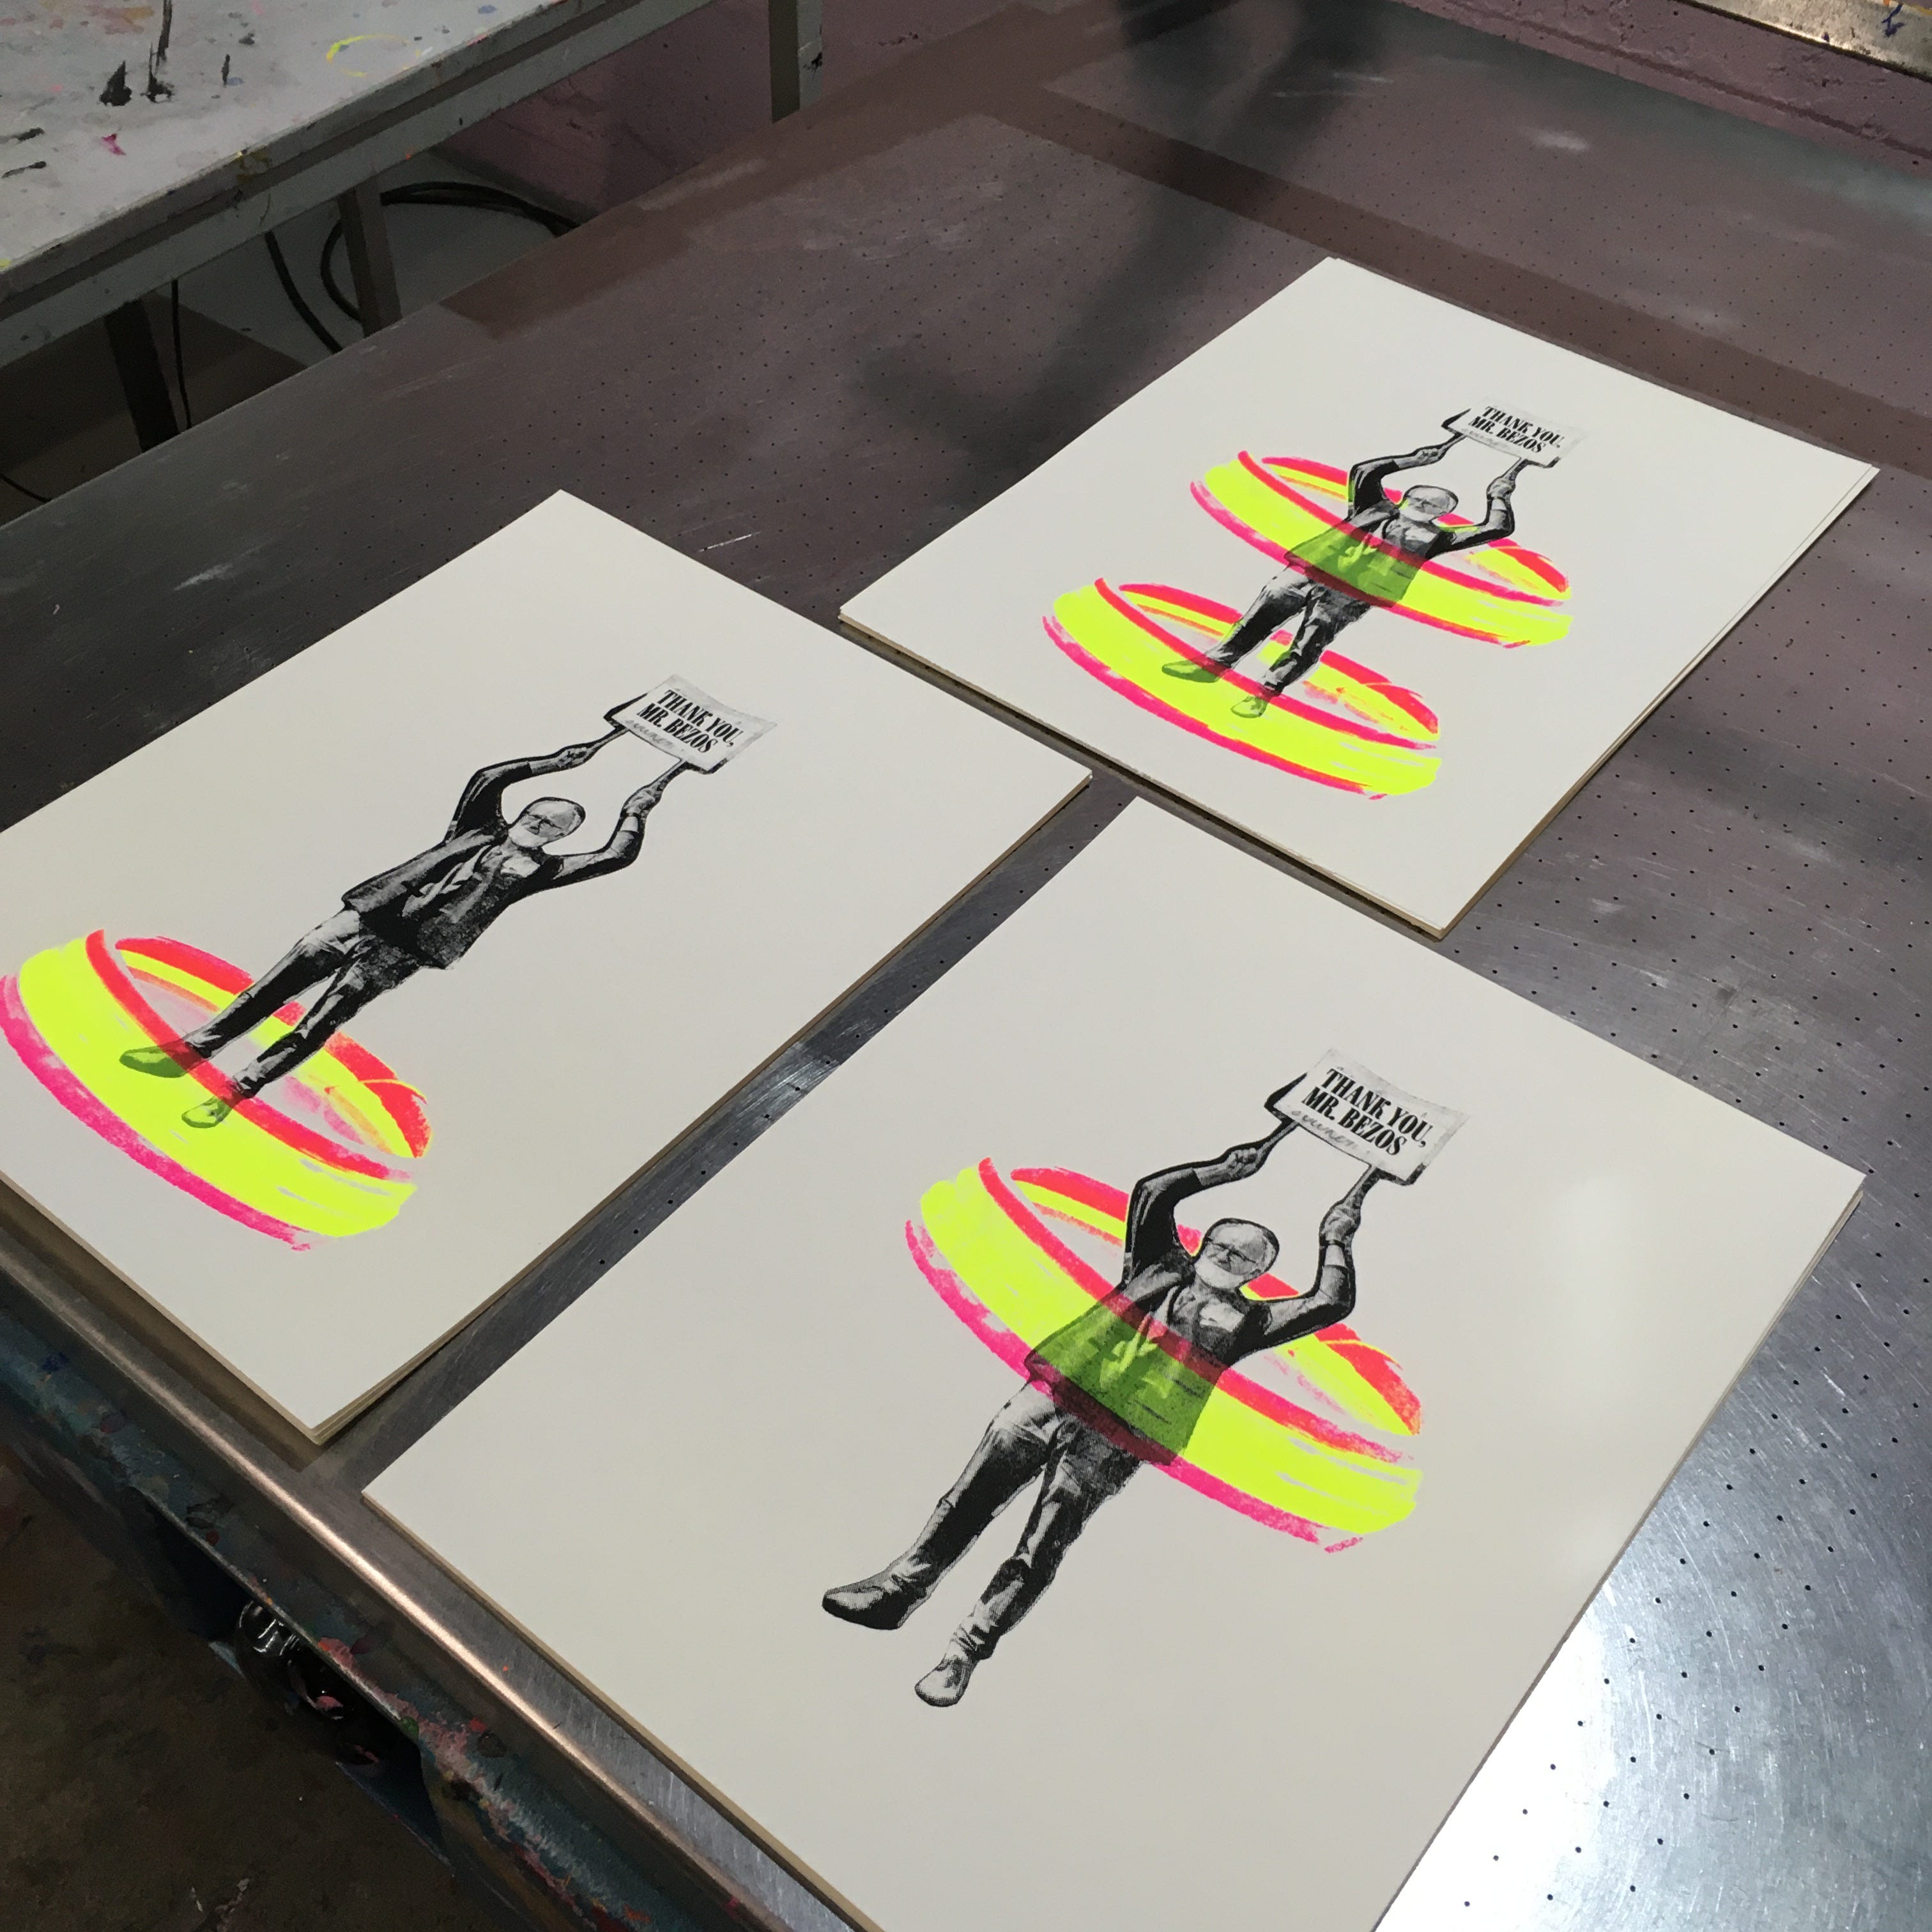
(de)conceptualise

Share this post

Thank You Mr. Bezos

journal.deconceptualise.com

Thank You Mr. Bezos

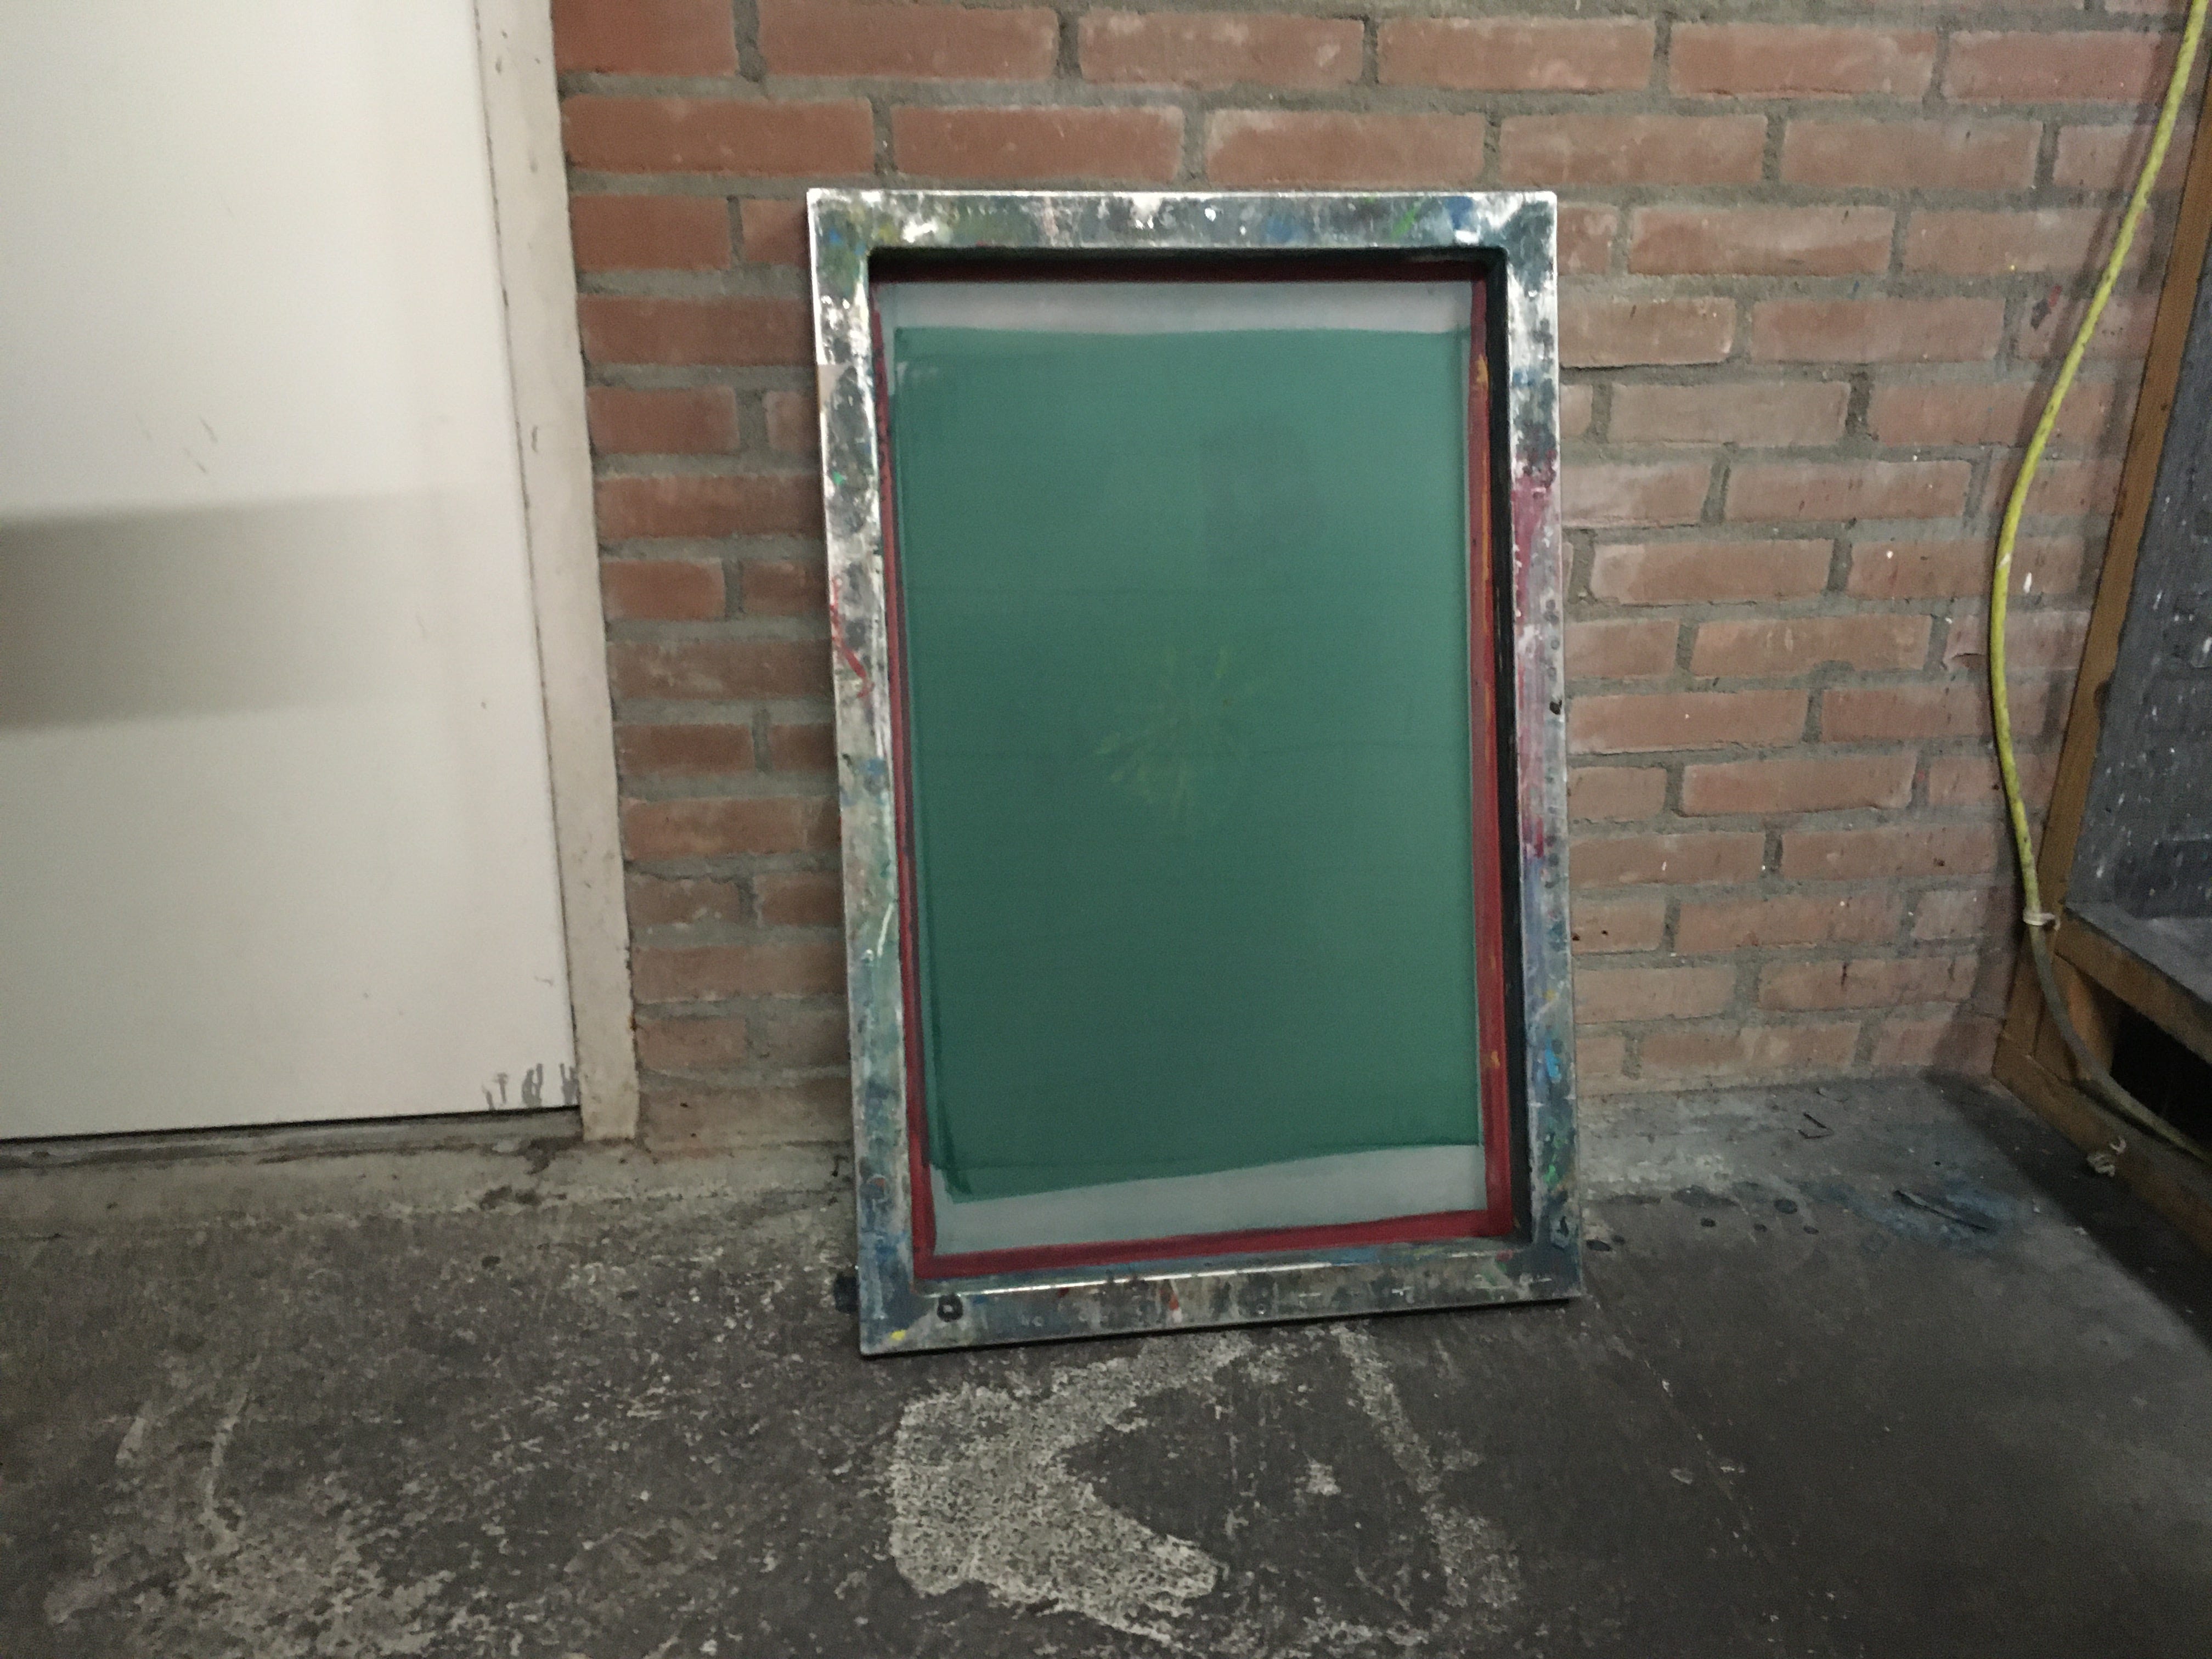
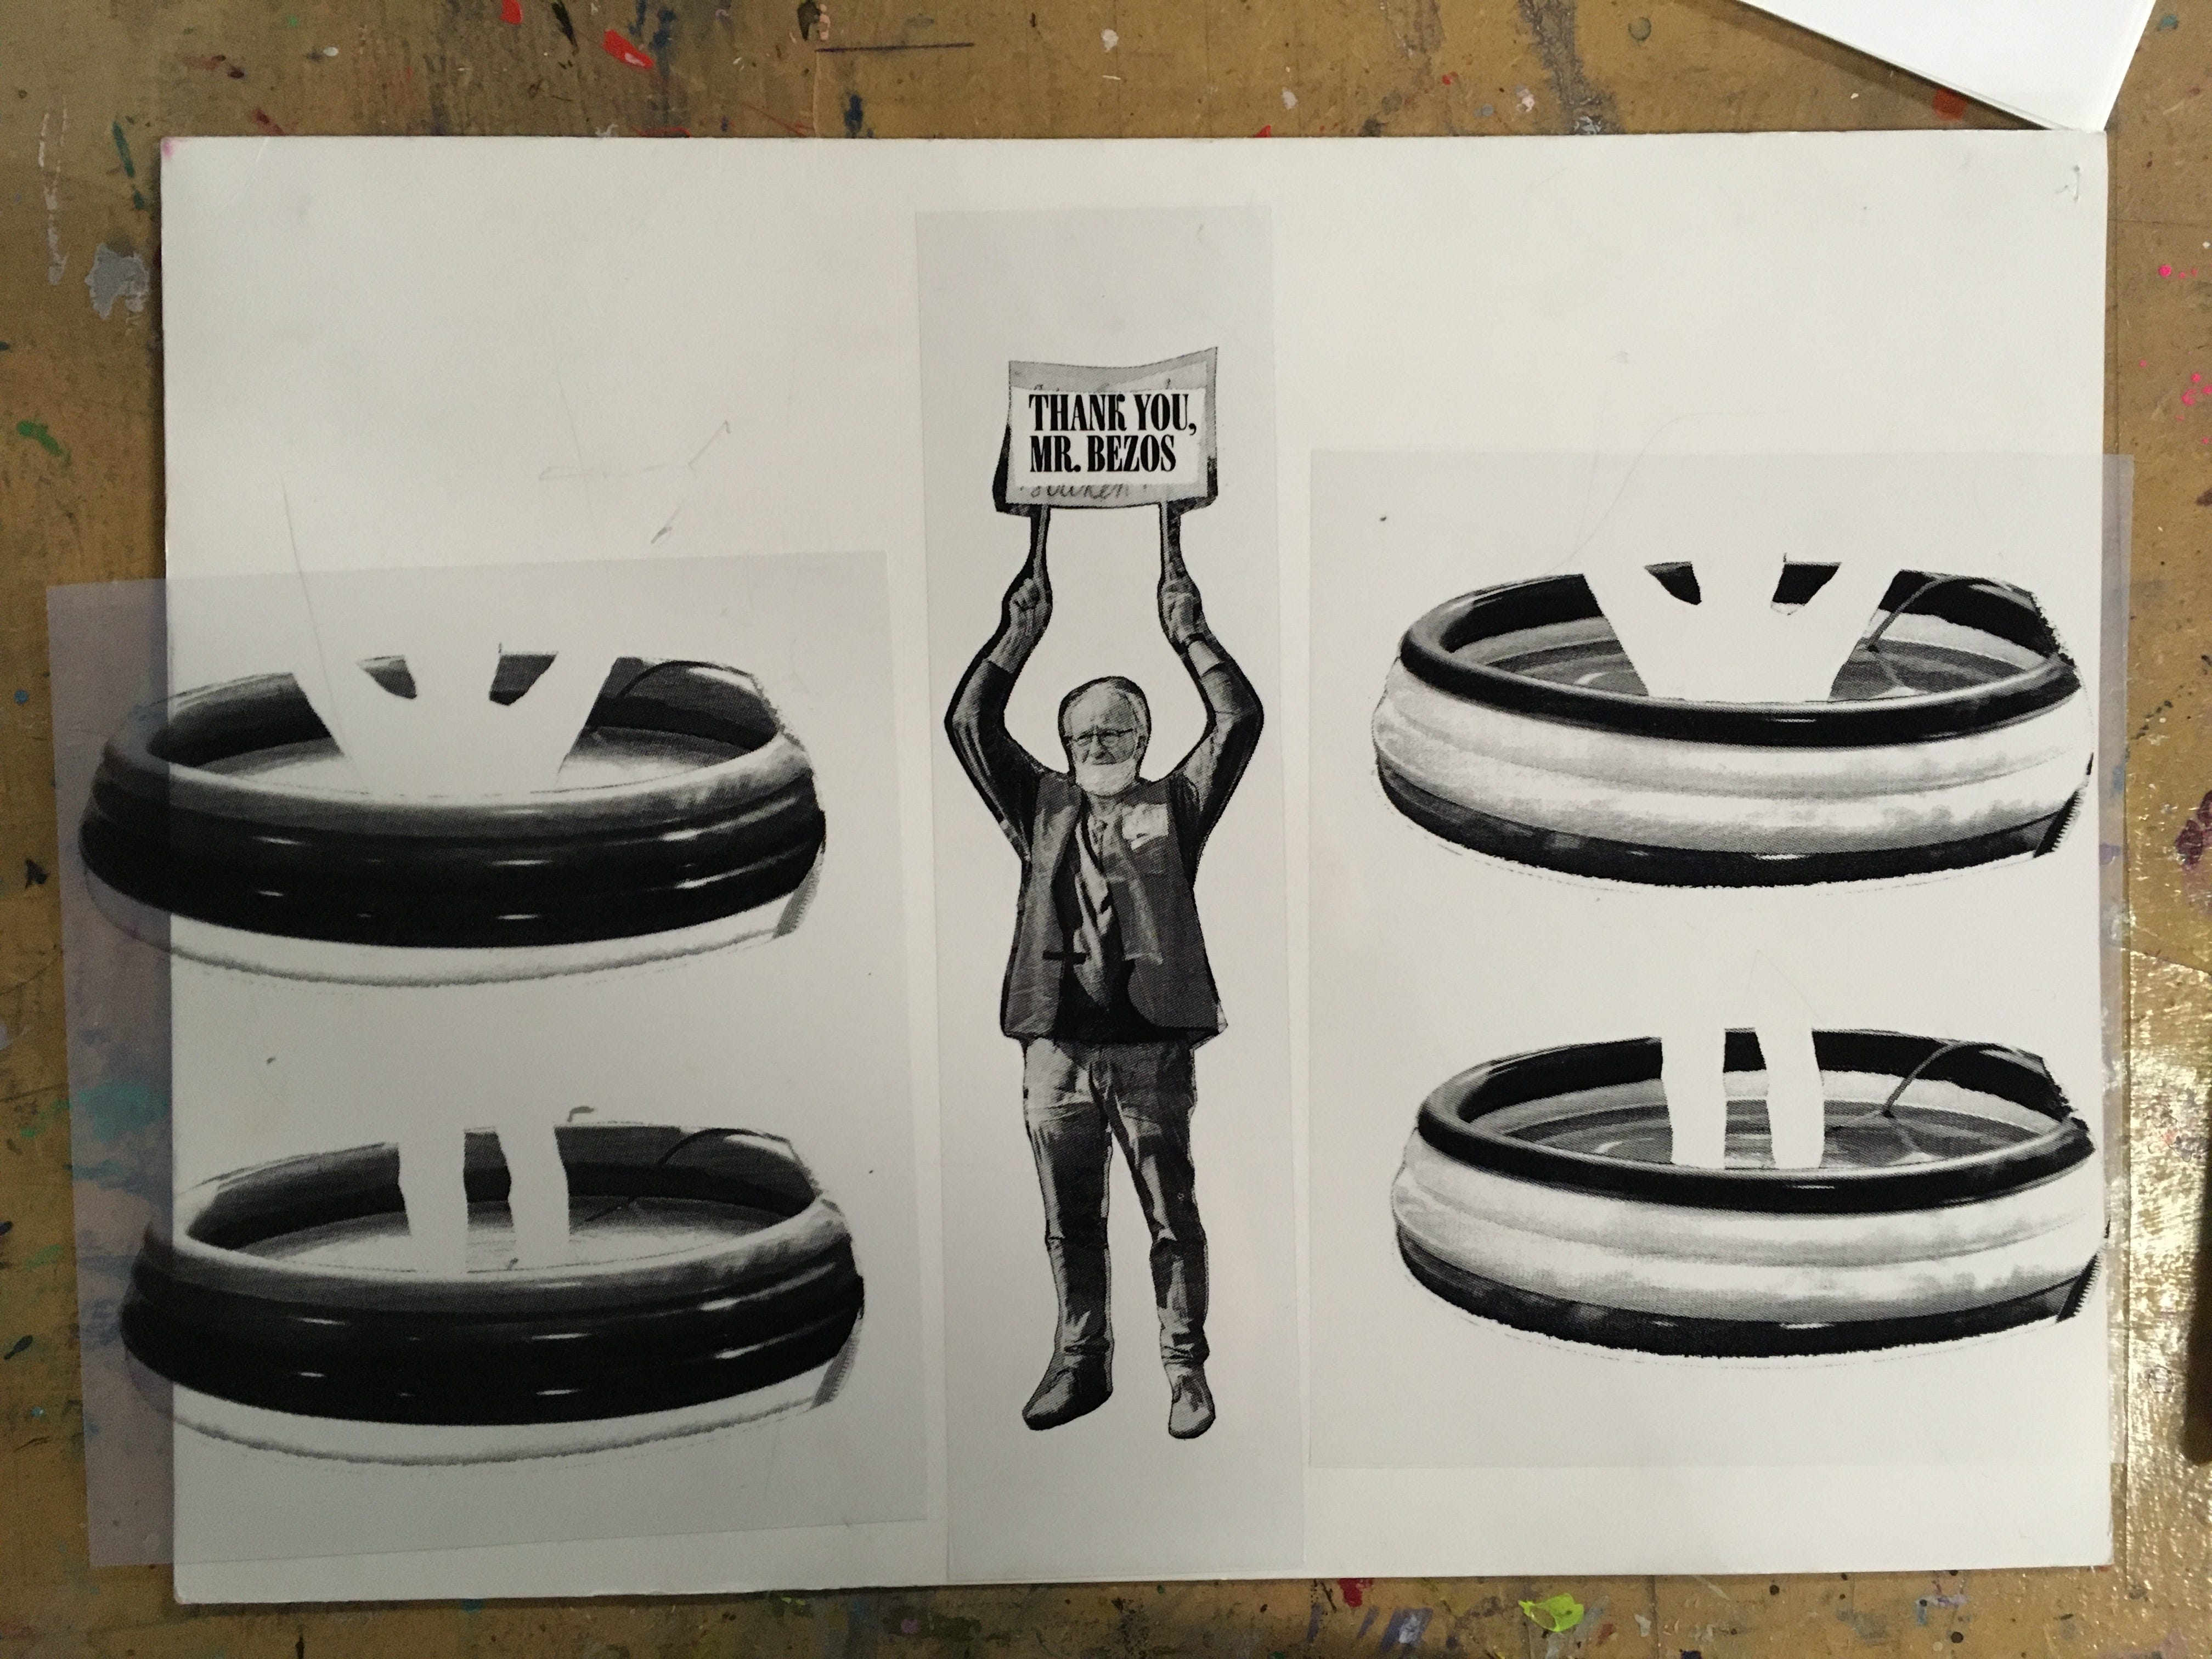
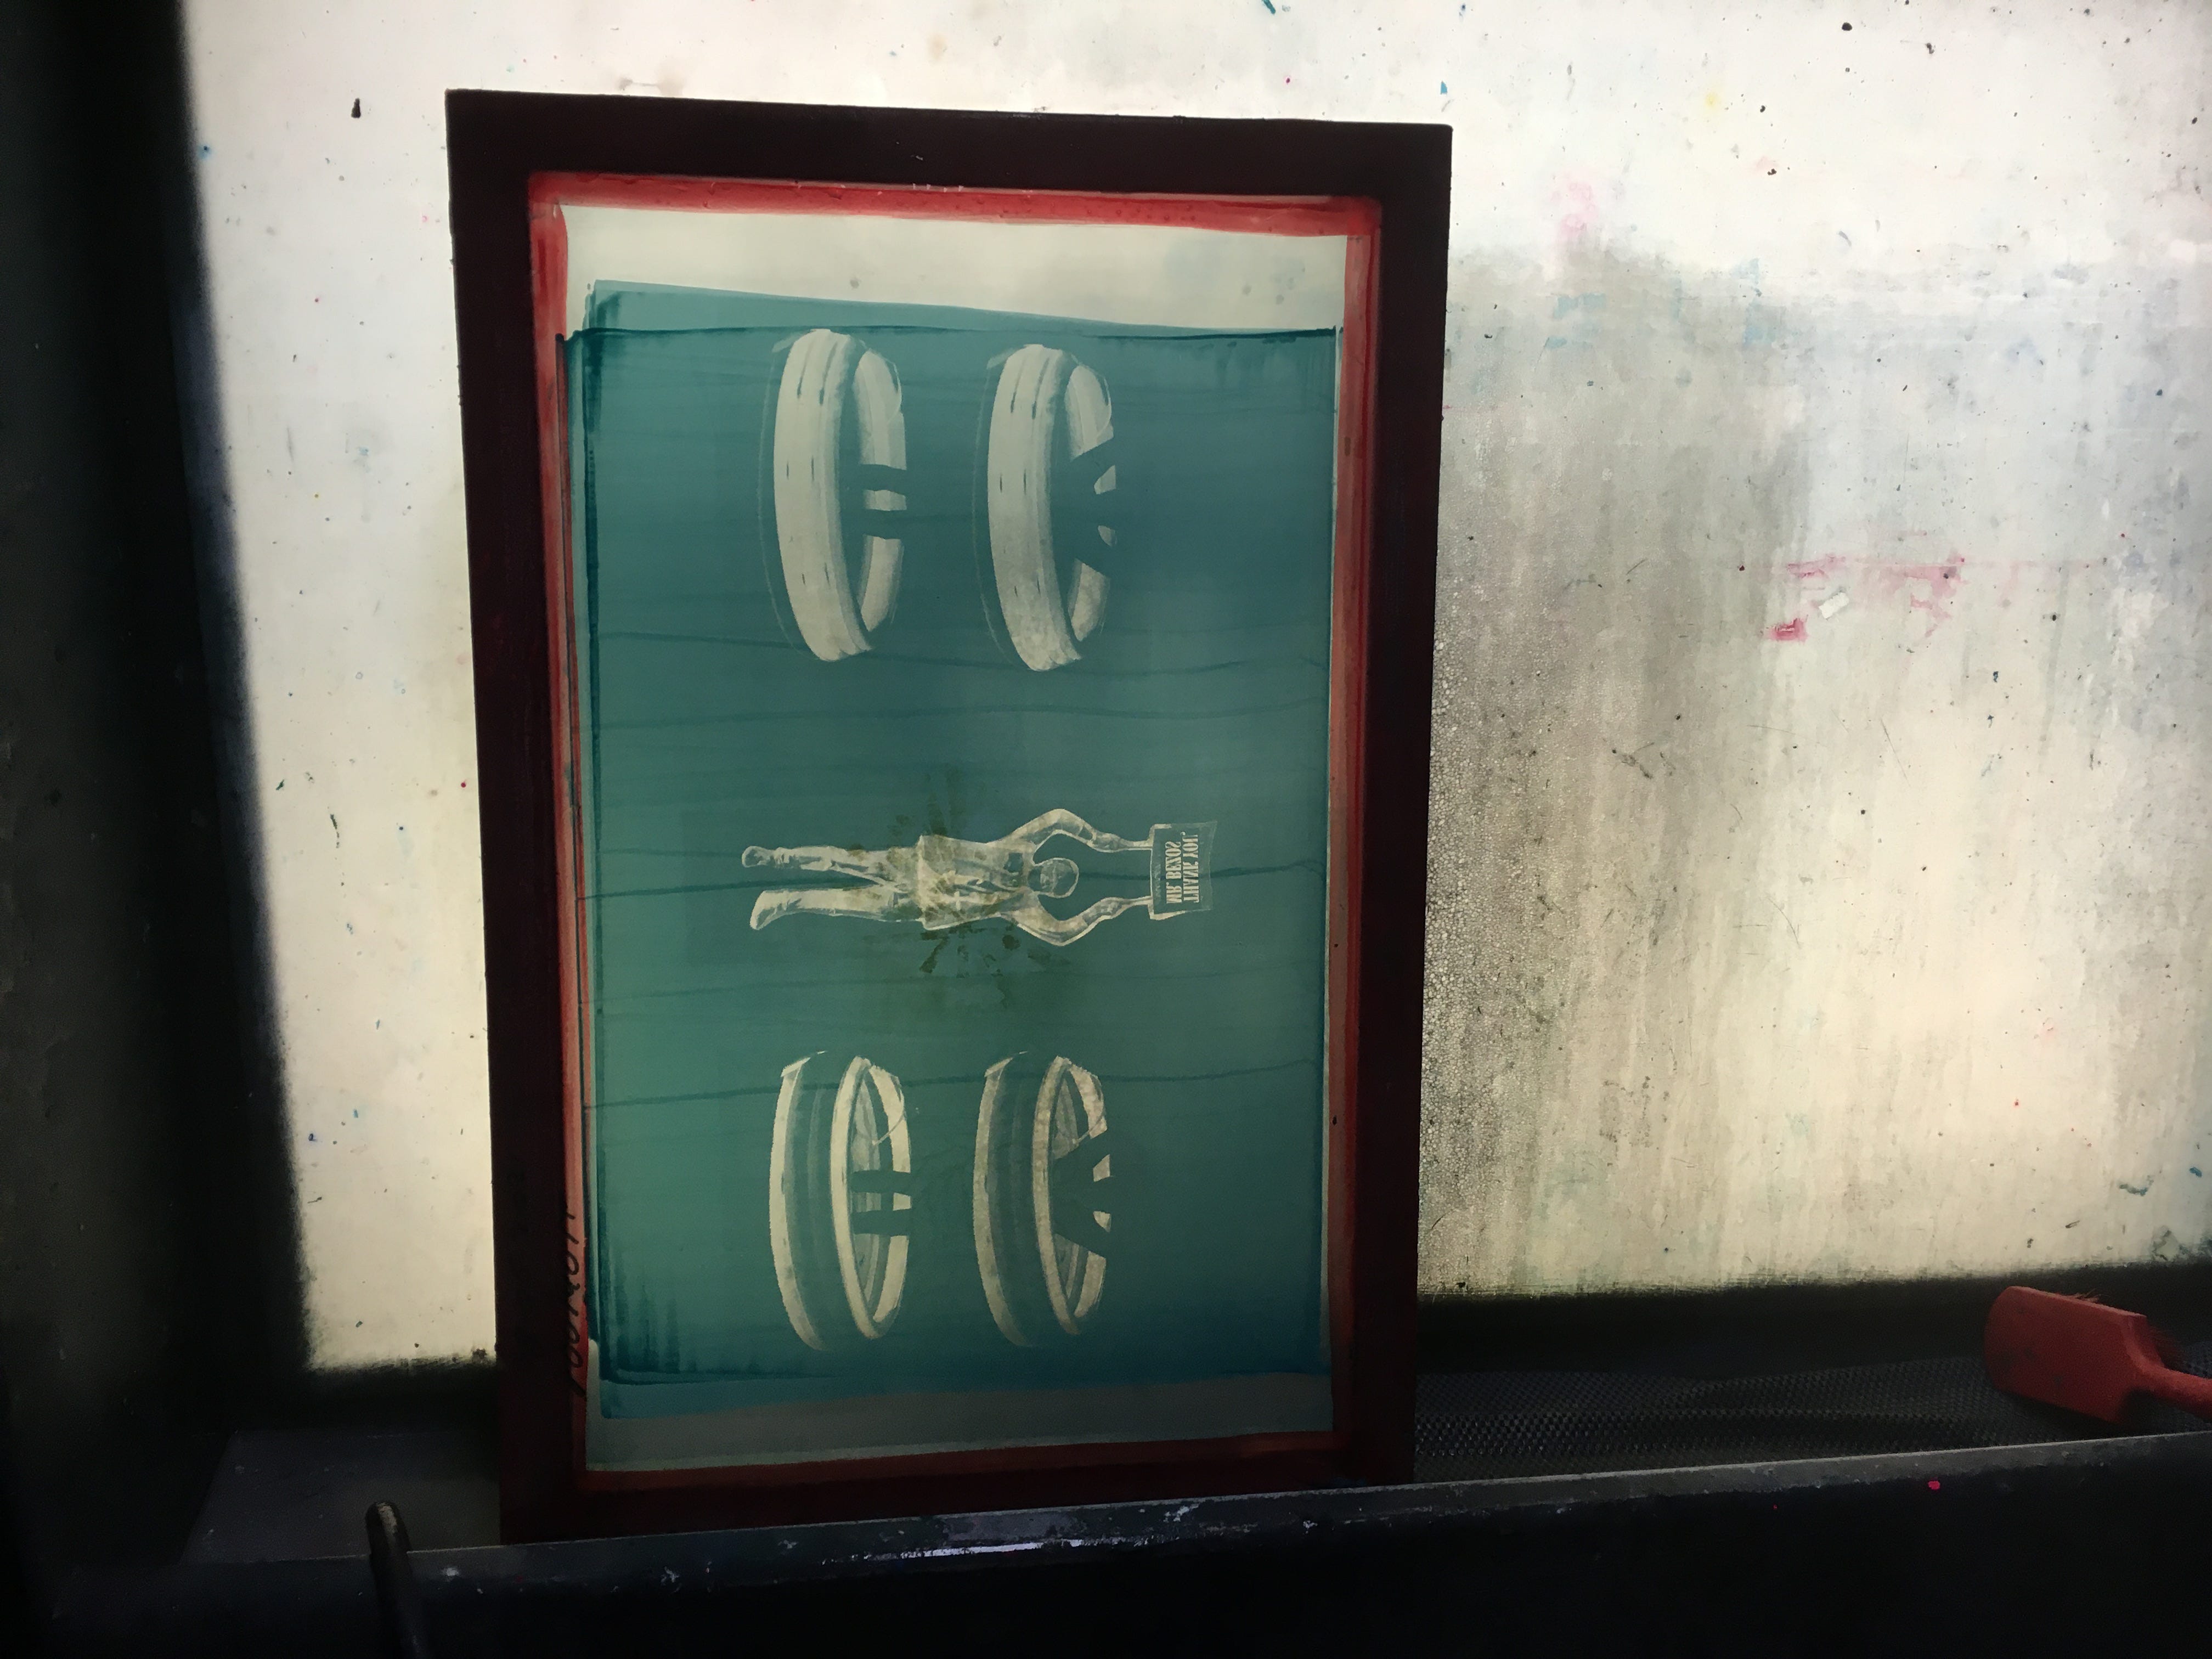
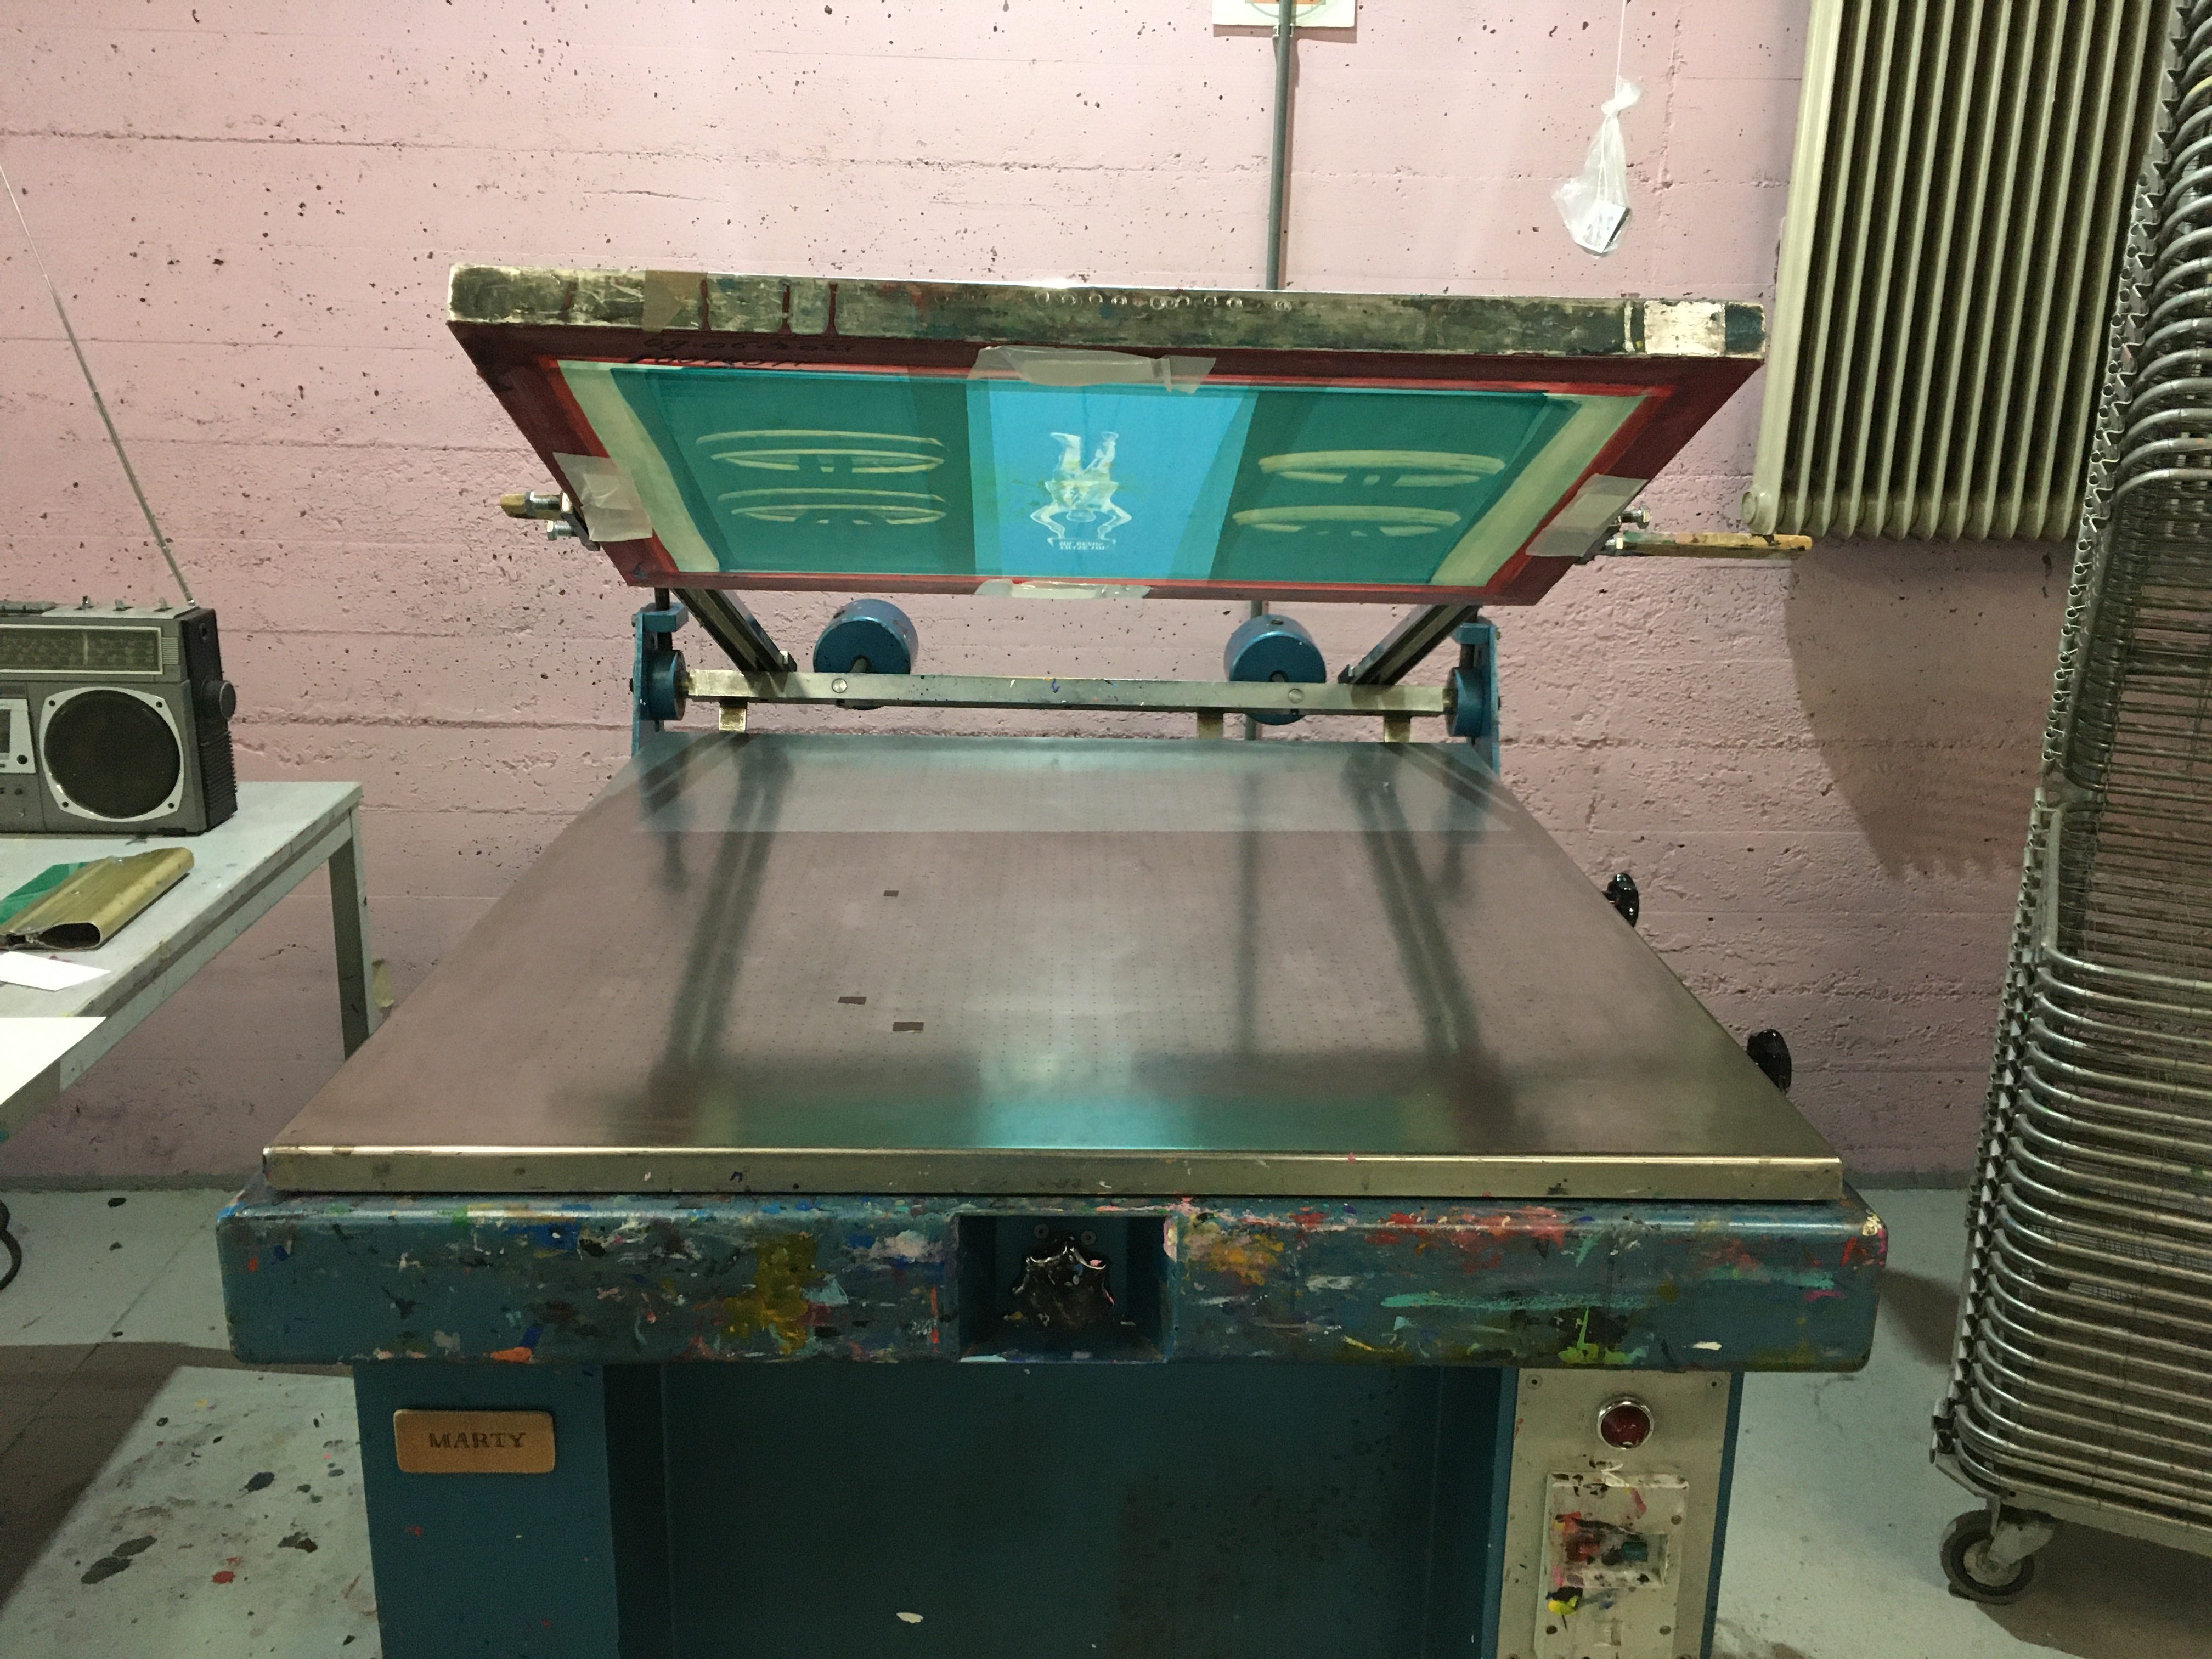
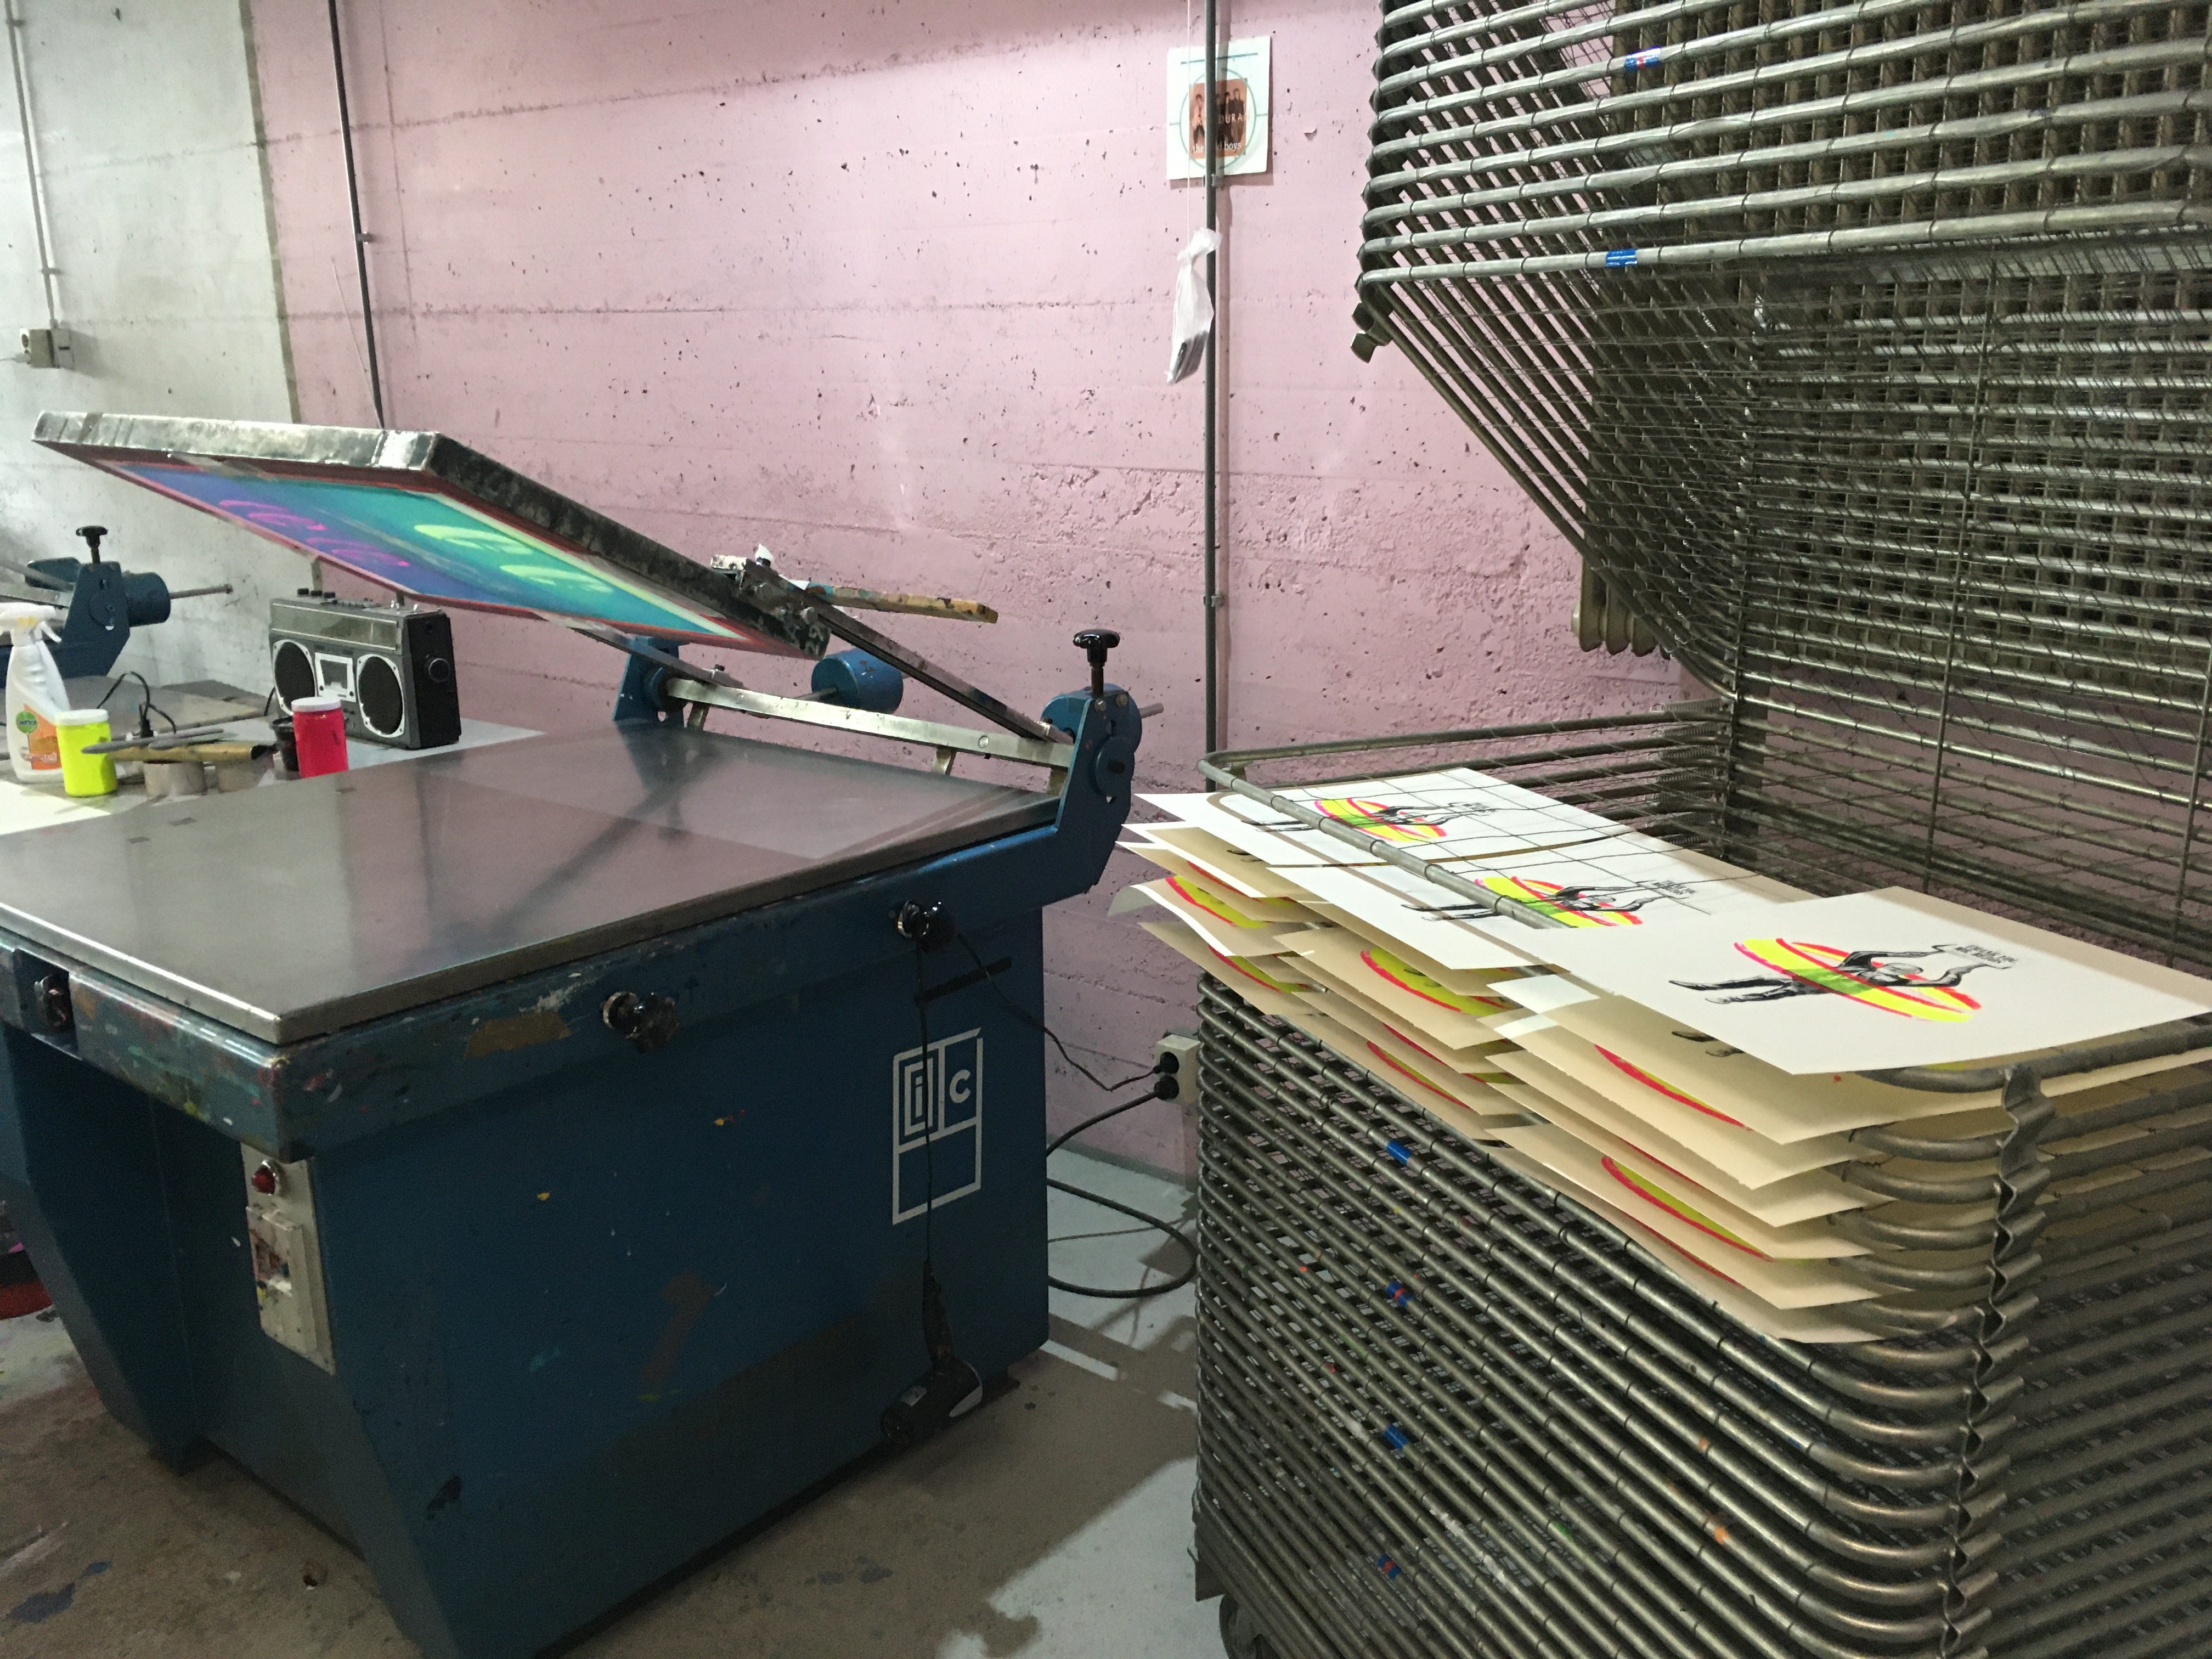
A walk through the screenprinting process

Feb 17, 2022
Share this post

Thank You Mr. Bezos

journal.deconceptualise.com

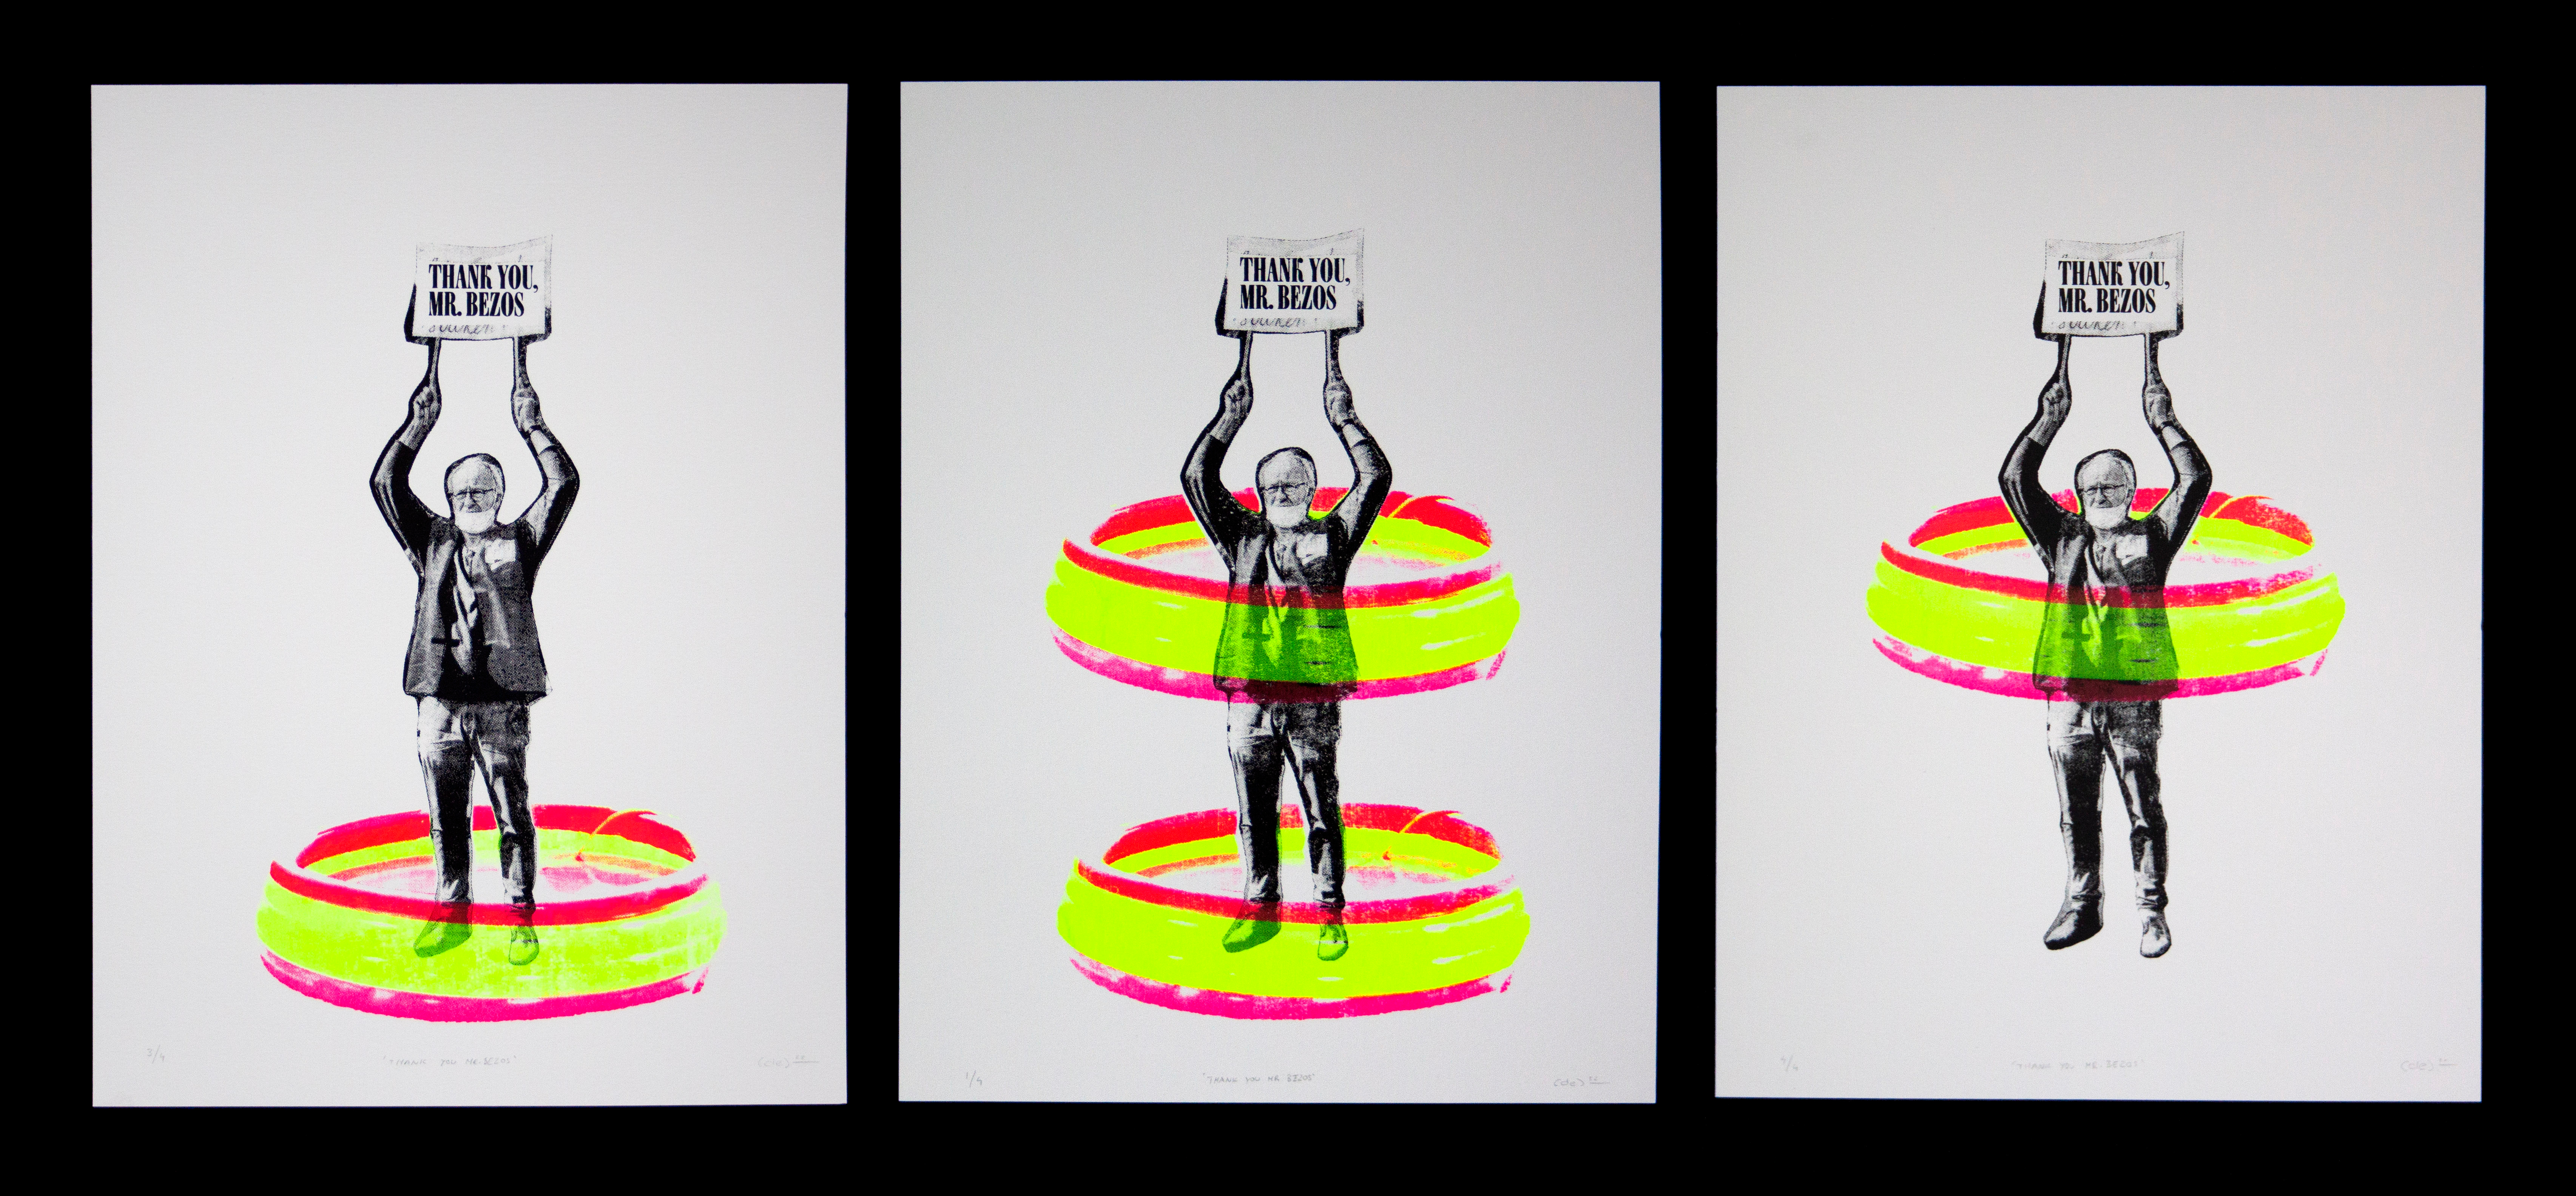
I have an addiction with large format work. With Linocutting it was a pain to try to print large format prints at home without a press. But with Screenprinting it’s easier. In fact, I just bought a 76 x 96cm screen so I can do 50x70 posters and other larger prints. However, sometimes going smaller is the right choice. Today, I spent the morning (from 8am to 1pm) making these three-colour prints at Mesh Print Club. Initially, I was hoping to print a large A1 poster but then I realised that this smaller format (28 x 37cm) was much better.

Hope you enjoy some snapshots of the process and If you like the print and want to get one for yourself (only printed four of each) you can get them here:

Get one


First thing to do when you arrive: get your screen with a coat of emulsion and leave it to dry ((theoretically overnight but 45min.-1h does the job)
Transparencies used for the design
Where the magic happens: Exposing the design unto the screen with a vacuum table and light unit
Exposed screen after washing out the emulsion from where the design is going to be
Inks are mixed with water to get the right yoghurt like consistency
‘Marty’, the screenprinting table with the screen prepared
Normally you would print from light to dark but in this print I wanted to have the colours over the black layer
When printing the first layer, the rest of screen where the other layers are is covered.
Luckily the ‘registration’ (or alignment between the different layers) went quite well

(one last part of the process I didn’t show is the cleaning part. Lots of cleaning…)

Share this post

Thank You Mr. Bezos

journal.deconceptualise.com
Comments
TopNew

No posts

Ready for more?

© 2023 Pedro Gil Farias
Privacy ∙ Terms ∙ Collection notice
Start WritingGet the app
Substack is the home for great writing